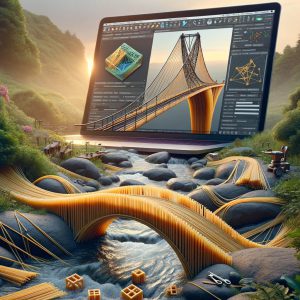
The best way to convert Grasshopper geometry to Revit
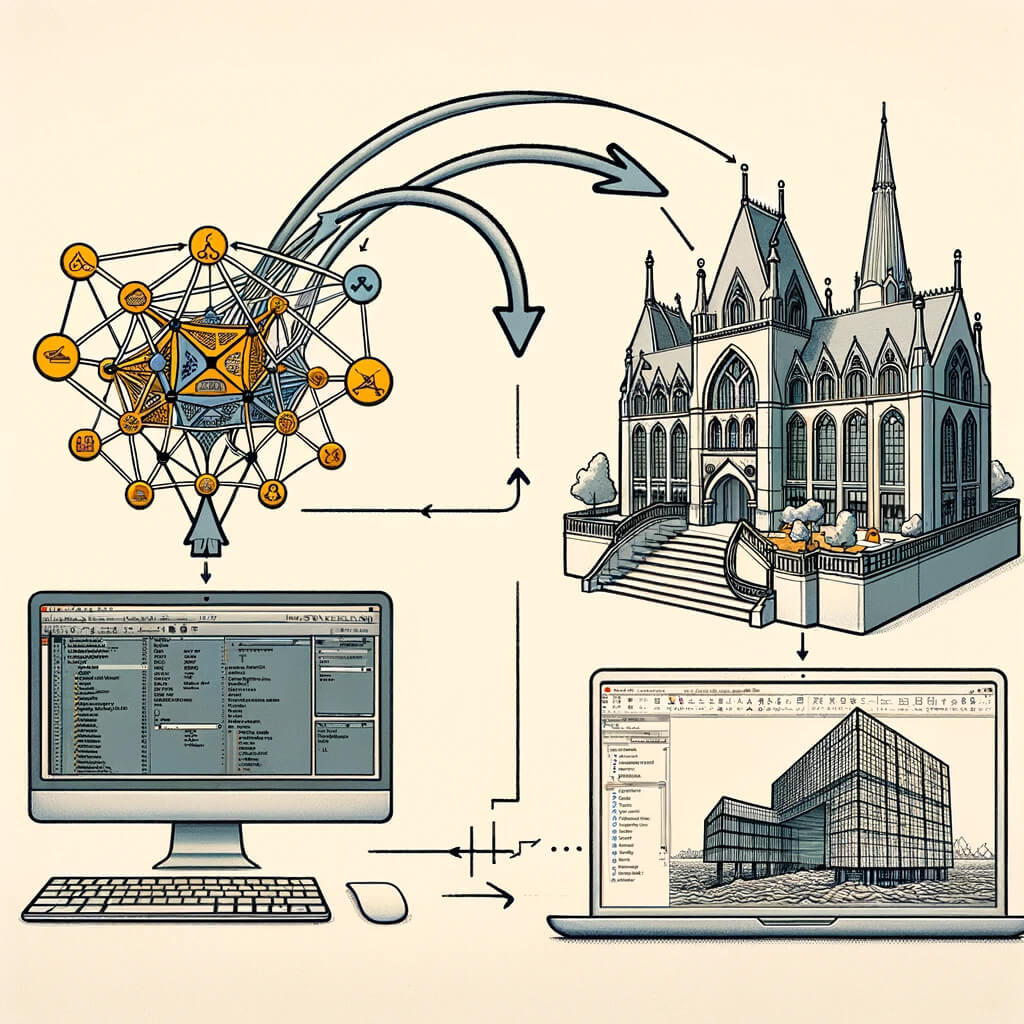
Convert Grasshopper geometry to Revit involves a process that bridges the gap between the conceptual, parametric design environment of Grasshopper (a visual programming language tool integrated with Rhino) and the building information modeling (BIM) capabilities of Revit. Here are some of the best ways to achieve this.
Table of Contents
The best way to convert Grasshopper geometry to Revit
1. Rhino.Inside.Revit
Rhino.Inside.Revit is arguably the most powerful and direct method for bringing Grasshopper geometries into Revit. It allows Rhino and Grasshopper to run inside Revit, enabling seamless integration between these applications.
This method supports a wide range of geometry types and data transfer, including parametric models, enabling users to leverage the best of both platforms.
- Advantages: Direct integration, access to Revit’s API, real-time updates, and support for complex geometries.
- Process:
- Install Rhino.Inside.Revit.
- Open Revit and start a Rhino.Inside session.
- Use Grasshopper to create your geometry.
- Directly reference Grasshopper geometries into Revit components or use specific components within Grasshopper designed to generate Revit elements (like walls, floors, beams, etc.).
2. Dynamo
Dynamo is Autodesk’s visual programming tool integrated with Revit, which can be used as an intermediary to translate Grasshopper definitions into Revit elements. While not as direct as Rhino.Inside, it offers a wide range of capabilities for parametric design within the Revit environment.
- Advantages: Native support within Revit, wide community, and resources.
- Process:
- Export Grasshopper geometry to a format Dynamo can read (like SAT or DWG).
- Use Dynamo to import the geometry and convert it into Revit elements.
- Manipulate or parameterize the geometry further within Dynamo as needed.
3. Export/Import via Interchange Formats
Exporting from Grasshopper and importing into Revit through file formats such as SAT, IFC, or DWG is a straightforward method, especially for static models that do not require further parametric manipulation within Revit.
- Advantages: Simple, works with basic geometries, does not require additional plugins.
- Process:
- Export the Grasshopper geometry to a compatible file format.
- Use Revit’s “Import CAD” or “Link CAD” feature to bring the geometry into a Revit project.
4. Custom Scripts and Plugins
For more control and automation, custom scripts and plugins using the Revit API, RhinoCommon, and Grasshopper API can be developed. This approach is more complex and requires programming knowledge but offers the most flexibility.
- Advantages: Highly customizable, can automate repetitive tasks, and tailor the workflow to specific needs.
- Process:
- Develop a custom script or plugin that translates Grasshopper geometry into Revit elements.
- Execute the script/plugin within Revit or Grasshopper, depending on the implementation.
The choice among these methods depends on the specific requirements of your project, the complexity of the geometry, and your familiarity with these tools. Rhino.Inside.Revit is recommended for its direct integration and real-time update capabilities, making it a preferred choice for many professionals transitioning geometry from Grasshopper to Revit.
Can Grasshopper be used in Revit?
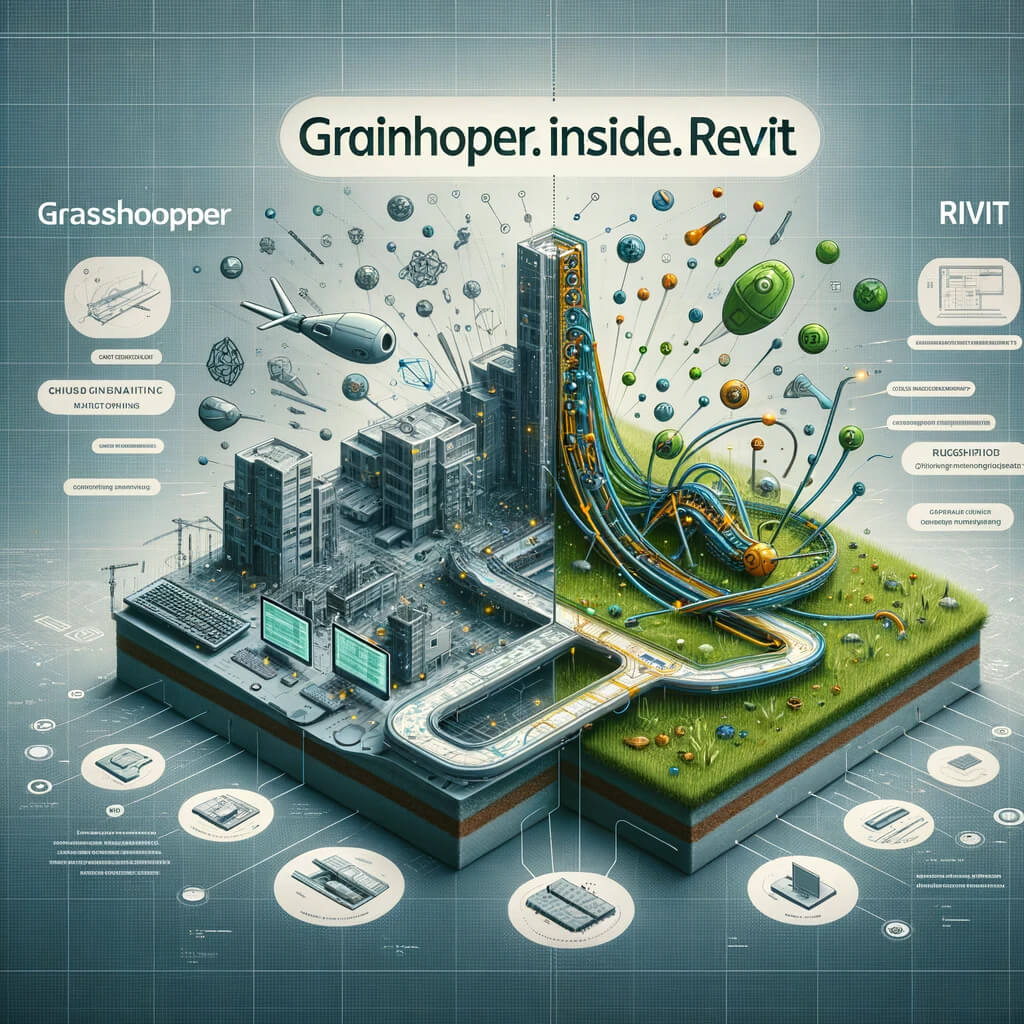
Yes, Grasshopper can be used in Revit through Rhino.Inside.Revit, is an innovative technology that allows Rhino and Grasshopper to run within Revit.
Rhino.Inside.Revit bridges the gap between these software platforms, enabling architects, engineers, and designers to access the powerful parametric design capabilities of Grasshopper directly within the Revit environment.
This integration facilitates a seamless workflow between conceptual design in Grasshopper and Building Information Modeling (BIM) in Revit.
How it Works
- Rhino.Inside Technology: Rhino.Inside is a development project by McNeel (the developer of Rhino) that allows Rhino 3D to run inside other 64-bit Windows applications such as Revit.
- Grasshopper in Revit: With Rhino.Inside.Revit, users can open Rhino and Grasshopper within Revit. This means you can work with Grasshopper scripts as if you were in Rhino but have the ability to push geometries, parameters, and other data directly into your Revit project.
Key Features
- Real-time Parametric Modeling: Make changes in Grasshopper and see them updated live in Revit.
- Direct Access to Revit Elements: Create or manipulate Revit elements (like walls, floors, beams, etc.) directly from Grasshopper.
- Leverage Revit Data: Use Revit’s database and elements as inputs for complex Grasshopper definitions, enabling more informed design decisions.
- Interoperability: Facilitates easier data and geometry exchange between Rhino, Grasshopper, and Revit, enhancing collaboration across different phases of the design process.
Setting It Up
- Install Rhino 7: Rhino.Inside.Revit requires Rhino 7, as it’s built on the Rhino.Inside technology.
- Enable Rhino.Inside.Revit: Download and install the Rhino.Inside.Revit add-on from the Rhino website.
- Launch Rhino from Within Revit: Once installed, you can launch Rhino and Grasshopper from within Revit’s interface.
Use Cases
- Conceptual Design: Quickly explore complex geometric forms and parametric designs in Grasshopper and bring them into Revit for further development.
- Design Analysis: Use Grasshopper to run simulations or analyses (like sunlight, wind, or energy consumption) and apply the insights to your Revit project.
- Custom Components: Create bespoke design components in Grasshopper and place them in your Revit model as native elements.
The integration of Grasshopper with Revit through Rhino.Inside.Revit offers a powerful solution for those looking to combine parametric design with BIM. It opens up new possibilities for automation, optimization, and creativity in the architectural design and documentation process.
How do I import a Rhino site model into Revit?
Importing a Rhino site model into Revit can be a straightforward process, depending on the complexity of your model and how you intend to use it in Revit. Here are the steps and methods you can use to achieve this:
Method 1: Direct Import using Rhino.Inside.Revit
If you’re using Rhino 7 and Revit, the Rhino.Inside.Revit plugin is the most seamless way to bring Rhino models, including site models, into Revit.
- Install Rhino.Inside.Revit: Ensure you have Rhino 7 and Revit installed, then download and install Rhino.Inside.Revit from the Rhino website.
- Launch Rhino Inside Revit: Open Revit and start a project or open an existing one. Then, initiate Rhino Inside Revit.
- Open Your Rhino Model: Within the Rhino interface inside Revit, open your site model file.
- Import Geometry: Use the direct import features to bring your Rhino geometry into Revit. You can convert Rhino geometry to Revit elements or use them as direct shapes, depending on your needs.
Method 2: Import Using File Formats
For those without Rhino 7 or preferring not to use Rhino.Inside.Revit, importing via intermediary file formats like DWG, SAT, or IFC is a common approach.
- Export from Rhino:
- Open your site model in Rhino.
- Select the geometry you want to import into Revit.
- Export the selected geometry using a format that Revit supports (
File>Export Selected). DWG and SAT are commonly used formats for this purpose.
- Import into Revit:
- Open your Revit project.
- Go to the “Insert” tab.
- Choose “Link CAD” or “Import CAD” for DWG files, or “Link IFC” for IFC files, depending on the format you exported from Rhino.
- Navigate to your exported file and adjust the import settings as needed (scale, positioning, etc.).
- Click Open to import the geometry into your Revit project.
Method 3: Use Dynamo
For more control over the import process or to automate repetitive tasks, Dynamo can be a powerful tool for importing Rhino models into Revit.
- Prepare Your Rhino File: Simplify your Rhino model as much as possible to only include the necessary geometry.
- Export to a Compatible Format: Export the geometry from Rhino in a format that Dynamo can read, such as SAT.
- Use Dynamo to Import Geometry into Revit:
- Open Dynamo from within Revit.
- Use nodes to read the exported file and create Revit elements based on the Rhino geometry.
- Adjust the script as needed to fit your specific requirements, such as scaling or positioning.
Considerations
- Model Complexity: Simplify your model in Rhino before importing it to avoid performance issues in Revit. This is particularly important for large or complex site models.
- Element Conversion: Decide how you want to use the Rhino geometry in Revit (as a reference, direct shapes, or converted to Revit elements) since this will influence the method you choose.
- File Size and Performance: Be mindful of the file size and potential performance impacts on your Revit project, especially when importing detailed models.
By following these methods, you can efficiently integrate Rhino site models into your Revit projects, enhancing your design and documentation workflow.
Which is better Revit or Rhino?
Choosing between Revit and Rhino depends largely on your specific needs, the nature of your projects, and your workflow preferences. Both software are powerful tools in the architecture, engineering, and construction (AEC) industry, as well as in the design field, but they serve somewhat different purposes and excel in different areas. Here’s a breakdown to help you decide which might be better for your specific context:
Revit
Focus: Revit is primarily a Building Information Modeling (BIM) software designed for architects, engineers, and construction professionals. It emphasizes the creation of coherent, coordinated, and complete model-based building designs and documentation.
- Strengths:
- BIM: Excellent for managing complex projects, tracking project lifecycle stages from concept to construction, and facility management.
- Collaboration: Designed for multi-disciplinary projects, allowing seamless collaboration among architecture, engineering, and construction teams.
- Automation: Automates tedious tasks, like updating floor plans, elevations, and sections as your model develops.
- Documentation: Strong documentation capabilities, making it easy to produce construction documents directly from the model.
- Best for: Projects that require detailed documentation, coordination among different disciplines, and extensive project management. Ideal for architects and construction professionals focused on delivering construction-ready projects.
Rhino
Focus: Rhino (Rhinoceros) is a 3D computer graphics and computer-aided design (CAD) application known for its versatility in handling complex geometries and its open software architecture that allows for extensive plugin support, including Grasshopper for parametric design.
Strengths:
- Flexibility in Design: Excellent for exploring complex shapes and free-form geometries. It’s widely used for conceptual design and model exploration.
- Wide Range of Applications: Beyond architecture, Rhino is used in industrial design, automotive design, product design, and more.
- Grasshopper: An integrated parametric modeling tool that allows for highly complex, algorithm-driven design workflows.
- Interoperability: Good at importing and exporting a variety of file formats, making it versatile in workflows that involve multiple software.
- Best for: Conceptual and complex geometry projects, design exploration, and projects that benefit from parametric design. It’s favored by designers and architects who prioritize design freedom and creativity over construction documentation.
At the End:
- Choose Revit if: Your focus is on BIM, detailed documentation, and coordination among various disciplines in the construction industry. Revit excels in managing the complete lifecycle of a building project.
- Choose Rhino if: You prioritize design flexibility, working with complex geometries, and engaging in a broad range of design applications beyond just architecture.
Many professionals use both Revit and Rhino in their workflows, taking advantage of Rhino’s design and modeling capabilities and then bringing those designs into Revit for documentation and coordination. The decision should be based on which aspects of your work you value more highly and the requirements of your specific projects.

How do you explode a Rhino model in Revit?
Exploding a Rhino model in Revit involves breaking down the imported model into its constituent parts or elements. This can be useful for editing purposes or if you need to manipulate individual components of the model within Revit. However, it’s important to note that Revit handles geometry differently than Rhino, and the concept of “exploding” a model doesn’t work exactly the same way in Revit as it does in Rhino. Here are steps and considerations for effectively managing and decomposing Rhino models in Revit:
Importing the Rhino Model into Revit
First, ensure your Rhino model is imported into Revit. You can do this using Rhino.Inside.Revit, which allows you to work with Rhino models directly within Revit, or by exporting the Rhino model to a compatible format (like DWG, SAT, or IFC) and then importing or linking it in Revit.
Managing Rhino Models in Revit
Once your Rhino model is in Revit, how you “explode” or decompose it depends on the method used to import and your intended outcome:
1. Rhino.Inside.Revit
- Direct Manipulation: If you’re using Rhino.Inside.Revit, you can manipulate the Rhino geometry within Rhino before bringing it into Revit, breaking it down into simpler elements if necessary.
- Grasshopper: You can also use Grasshopper to decompose the model into its components and then use Rhino.Inside.Revit to create corresponding Revit elements.
2. Imported as CAD (DWG, SAT, etc.)
- Exploding CAD Imports: Revit allows you to “explode” imported CAD files (via the “Explode” command), but this is generally not recommended because it can lead to performance issues and create a lot of unmanageable elements within Revit.
- Best Practice: Instead of exploding, use the imported model as a reference to manually create Revit elements over it. This ensures better control over the elements and maintains the performance and integrity of the Revit model.
3. Using Dynamo
- Dynamo for Advanced Manipulation: For more control over the decomposition process, you can use Dynamo. By importing the geometry from Rhino (via a compatible file format), Dynamo scripts can help you break down the model into components that can be recreated as Revit elements.
Important Considerations
- Performance: Be mindful of Revit’s performance. Importing complex or high-detail models directly and exploding them can severely impact the project’s performance.
- Data Management: Exploding a model can result in numerous loose elements, making data management challenging. It’s crucial to have a clear plan for how these elements will be used or organized in Revit.
- Simplification: Consider simplifying the model in Rhino before importing it to Revit, focusing on the necessary level of detail for your Revit needs.
While the concept of “exploding” a model in Revit isn’t as straightforward as in Rhino, understanding these methods and considerations can help you effectively manage and utilize Rhino models within your Revit projects.

Can Rhino be used for BIM?
Yes, Rhino can be used for Building Information Modeling (BIM) tasks, especially when combined with the right plugins and tools that extend its capabilities into BIM workflows. While Rhino is primarily known for its powerful 3D modeling capabilities, especially in complex geometries and free-form designs, its role in BIM has been expanding thanks to its flexibility, the development of BIM-oriented plugins, and its ability to integrate with other BIM software like Revit.
How Rhino Fits into BIM
- Flexibility and Precision: Rhino’s precision in modeling complex shapes and forms makes it a valuable tool in the design phase of BIM projects.
- Interoperability: Rhino’s ability to import and export various file formats, including IFC (Industry Foundation Classes), allows it to exchange BIM data with other BIM software effectively.
BIM Tools and Plugins for Rhino
- VisualARQ: VisualARQ adds architectural BIM features to Rhino, allowing for the creation and manipulation of architectural elements (walls, beams, columns, doors, windows, and more) with parametric properties and dynamic documentation that adjusts to model changes.
- Grasshopper: Grasshopper, Rhino’s visual programming language, has various plugins itself for BIM, such as Ladybug for environmental analysis and HumanUI for creating custom interfaces, which can be used to enhance BIM workflows.
- Rhinoceros BIM: Another plugin that enhances Rhino’s BIM capabilities by providing tools to manage building information models, including elements, properties, and classifications.
- Rhino.Inside.Revit: This technology allows Rhino to run inside Revit, enabling the direct use of Rhino’s and Grasshopper’s modeling capabilities within a Revit project. This bridges the gap between free-form design and BIM.
Using Rhino in BIM Workflows
- Early Design Phases: Rhino is particularly useful in the conceptual and schematic design phases of a project, where flexibility and the ability to quickly explore forms are crucial.
- Integration with Other BIM Tools: For detailed design phases, Rhino models can be further developed and detailed in other BIM software like Revit, with Rhino.Inside.Revit providing a powerful link between conceptual design and detailed BIM documentation.
- Analysis and Simulation: Through plugins, Rhino can be used for environmental analysis (like solar, wind, and light analysis), structural analysis, and energy modeling, integrating these aspects into the BIM process.
While Rhino on its own is not a traditional BIM software, its strengths in modeling, coupled with the right plugins and integration capabilities, allow it to play a significant role in BIM workflows, particularly for projects that benefit from complex geometrical design. Its compatibility with industry standards and other BIM software makes it a valuable tool in the architecture, engineering, and construction (AEC) industries.